
 Business License

Rubber Bearing for Bridges: Installation & Inspection Guide
The bearings were perfect when they left the factory. Every batch test had passed. Then a site crew set them on plinths that were 5 mm out of level, and eighteen months later the deck was already showing problems the design never predicted.
That is the gap this guide is about. A rubber bearing for bridges is engineered to carry load, allow movement, and accommodate rotation for decades. Installation and inspection decide whether it gets the chance to.
If you specify, install, or maintain bridges, you already know the bearing is the small component with the large consequences. This guide covers the field side of the job: bridge bearing installation and storage, the tolerances that cause most failures, bridge bearing inspection, and when a bridge rubber bearing replacement has to be planned.
Here is what we will cover:
Why installation quality decides bearing life
Storage and handling before the bearing goes in
Step-by-step installation and the tolerances that matter
The in-service inspection checklist
When replacement is needed, and how to plan for it
The records to keep so the next team is not guessing
Installing or rehabilitating a bridge and need bearings you can document? See how our bridge bearing solutions are specified for infrastructure projects, then send your load, movement, and rotation figures to our engineers and we will confirm the bearing type and size before you set a plinth.
Why Installation Decides How Long a Rubber Bearing for Bridges Lasts
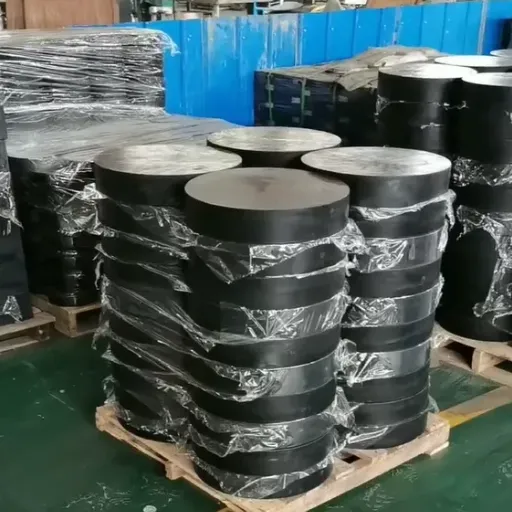
A bearing has one job in service, and it's a narrow one. It must deform in a controlled way so the structure above it doesn't have to.
Rubber bearings for bridges work by shear. The deck expands in summer heat, contracts in winter cold, and rotates as traffic crosses. The bearing absorbs all of that by stretching and tilting within limits the designer calculated. Load capacity, shear resistance, and rotation are all set at the drawing stage, and the bridge rubber bearing types available today each trade those three properties differently.
What the drawing can't control is the surface the bearing sits on. If the plinth isn't flat, or isn't level, or the bearing isn't set at the right temperature, the bearing starts its working life already deformed. That pre-deformation adds to every movement the deck makes later, and it applies to any elastomeric bearing set on a poor seat.
Think of it as a debit taken at the start of the account. A bearing with a 5 mm plinth error might use 20% of its movement allowance before the first truck crosses it.
The failure mode follows from there. Excess shear or rotation loads the rubber-steel bond unevenly. Edge bulging appears first, then cracking, then separation between the rubber and the steel plates inside the bearing. Engineers call that delamination, and once it starts, it doesn't reverse.
The tolerances that prevent it aren't improvised on site. They come from the project specification and from structural bearing standards. EN 1337, the European standard family for structural bearings, sets dimensions, tolerances, and test methods for elastomeric and pot bearings. ISO 6446 specifies the rubber compounds used in bridge bearings.
In the United States, the FHWA bridge program publishes inspection and maintenance guidance that owners build their programmes around. Read your specification against one of these, and the installation tolerances stop being a matter of opinion.
The lesson is uncomfortable but simple. A bearing is a precision component installed by site crews working to programme pressure. The process has to be as controlled in the field as it is in the factory.
Storage and Handling Before Installation
Rubber bearings for bridges often arrive weeks before the plinths are ready. How they are kept during that time affects how they perform.
Store flat, on a flat surface. Elastomeric bearings should rest on a flat, rigid surface, not on their edge and not stacked under load that can distort them. Distortion during storage can become permanent set.
Keep them out of UV and ozone. Long exposure to direct sunlight hardens the rubber surface. Electric motors, welding equipment, and generators generate ozone, which attacks rubber. Store bearings well away from them.
Keep oils and solvents away. Hydrocarbons and solvents swell and degrade the elastomer. Do not store bearings in the same area as fuel, lubricants, or paint thinners.
Control the temperature. Store at moderate temperature where possible. Extreme heat accelerates aging. Extreme cold makes the rubber stiff and easier to damage during handling.
Protect sliding surfaces. For sliding bearings, keep the PTFE and stainless steel faces covered and clean. Grit trapped between them damages the surface before the bearing ever moves.
Keep the identification with the bearing. Each bearing is made for a specific position. Mixing them up at the storage yard creates a mismatch that may not be found until the deck is loaded.
A bearing that sat for three months in direct sun next to a generator isn't the same bearing that passed the factory test. Handling records should cover this period, not just the workshop.
Step-by-Step Installation of Rubber Bearings for Bridges

Installation follows a fixed sequence. Skipping a step doesn't save time, because the correction always costs more later.
Check the delivered bearing against the drawing. Confirm the type, plan size, thickness, and the position it was made for. Our bridge rubber bearing range covers laminated, pot, and pad types, so match the delivered bearing to the correct line on the bearing schedule. Confirm the batch test certificate matches the bearings in the crate.
Prepare and cure the plinth. The bearing seat must reach its design strength before the bearing is set. Setting a bearing on green concrete or grout leads to settlement and loss of contact.
Verify plinth flatness and level. This is the step that most often goes wrong. Check the seat against the project tolerance with a straightedge and level, in both directions. Correct high spots by grinding before the bearing is placed, never after.
Set out the plan position. Mark the centre lines of the bearing position. Correct plan position matters most for sliding bearings, which have a defined travel range.
Set the bearing at the correct temperature. The designer specifies a setting temperature and a pre-set displacement. Setting the bearing at the wrong temperature means it begins service already offset from the neutral position.
Fix and restrain as designed. Fit dowels, bolts, or shear keys exactly as detailed. A sliding bearing that is accidentally restrained will push movement into the pier.
Grout and bed fully. Fully fill the bearing plinth and bedding so there are no voids and full contact is achieved. Cure to design strength before loading.
Record the as-installed condition. Photograph each bearing position and note the setting temperature, the date, and any deviation from the drawing.
The temperature step deserves more attention than it usually gets. A rubber bearing for bridges is set at a reference temperature, often near the mean annual temperature of the site. If bearings are set on a hot afternoon, the deck is already expanded, and the bearing begins at one extreme of its travel.
Where the specification calls for it, bearings are set with a calculated offset so that the neutral position is reached at the mean temperature. Confirm the required offset for each position rather than assuming all bearings are set the same way.
Setting out a bearing package? Our technical team reviews plinth details and setting-out data with you before delivery, so the field work matches the design. Ask us to check your installation sequence.
Plinth Flatness: The Tolerance That Causes Most Field Problems
If there is one number to get right on site, it is plinth flatness. It decides more about the life of a rubber bearing for bridges than almost any other field decision.
Concrete surfaces are never perfectly flat, and cast plinths pick up formwork deflection, screed variations, and surface laitance. A bearing set on a high spot makes contact over a small area instead of the full face. Compressive stress concentrates at that point, the rubber bulges locally, and the bond between rubber and steel is loaded far beyond its design value.
The same happens with a tilted plinth, except the bearing rotates to compensate. Rotation capacity that was meant to accommodate deck deflection is consumed before service starts.
Typical project tolerances for bearing plinths sit around the range of 1 mm of deviation over 300 mm of bearing dimension, measured in both directions. Verify the exact requirement for your structure, because bridge codes and client specifications vary. What doesn't vary is that a deviation has to be corrected by grinding the plinth, not by shimming the bearing with something that will compress.
A short field story shows how this plays out. In 2022, a site engineer named Tomas was setting laminated bearings on a six-span highway bridge in Central Europe. The plinth survey found high spots of up to 5 mm on nine of the twenty-four seats. The bearings were already on site and the deck casting was three weeks away.
Tomas pushed for grinding the plinths to tolerance rather than bedding the bearings over the high spots. Grinding took three days and a small amount of re-inspection. The alternative, he argued, was replacing bearings under a live deck in ten years. The client agreed, and the installation record for that bridge notes the flatness check as a signed step.
In-Service Inspection: What to Look For
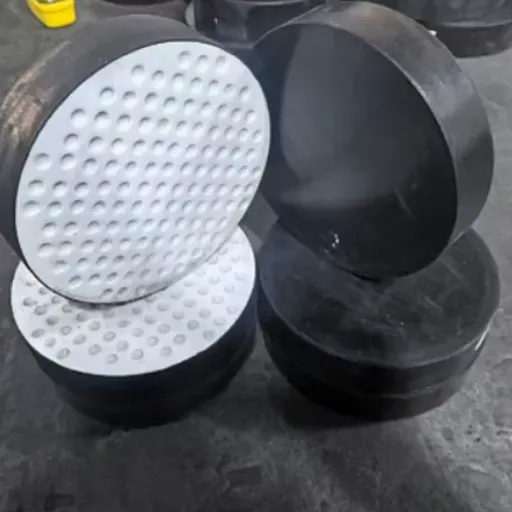
Once a bridge is open, inspection is the cheapest tool the owner has. A rubber bearing for bridges shows distress long before it becomes structural damage, if someone looks in the right places.
Inspect bearings during routine principal inspections and after any event that could have overloaded them, such as a vehicle strike or a seismic event. Access is the limiting factor on many structures, so plan inspection access into the bearing details at design stage.
Look for these conditions:
| What you see | Likely cause | Typical action |
|---|---|---|
| Uniform edge bulge within limits | Normal compression under load | Monitor |
| Local, uneven, or excessive bulge | Plinth not flat, or overload | Investigate the seat and load history |
| Cracking or tearing in the rubber cover | Aging, ozone attack, mechanical damage | Assess depth; replace if through the cover |
| Line of separation between rubber and steel | Delamination from poor bonding | Plan replacement; check sibling bearings from the same batch |
| Rust staining or corrosion on exposed steel plates | Failed protection, water paths, or salt exposure | Clean and reprotect; assess section loss |
| Bearing displaced from its installed position | Restraint failure, or wrong setting temperature | Check the restraint and the movement range |
| Sliding surface scored or dry | Contamination or lack of lubrication | Clean or replace the sliding components |
The crucial skill is distinguishing normal behaviour from distress. A rubber bearing under load is meant to bulge slightly and to shear as the deck moves. A bearing that is uniformly bulging at a moderate level is doing its job. A bearing with a single local bulge, or a visible line between rubber and steel, is telling you something.
Then there is the failure that hides in plain sight. Aisha, a bridge asset manager, was reviewing a 2023 routine inspection report on a coastal viaduct. The bearings looked fine in the photographs. What caught her attention was a note that one pier had developed diagonal cracks the inspection team could not explain.
The cause turned out to be installation, not loading. A sliding bearing at that pier had been inadvertently restrained when grout from the plinth was left bridging against the bearing's sliding plate. The deck's thermal movement had nowhere to go, so it went into the pier as a horizontal force.
Grout removal and a restored sliding surface fixed the bearing. The pier needed structural repair.
The inspection found the symptom. The bearing record, and a check of the neutral position, found the cause.
When Do Rubber Bearings for Bridges Need Replacement?
There's no fixed service interval, and anyone who quotes one without asking about your bearings is guessing. Replacement depends on three things: how the bearing was made, how it was installed, and what it has been exposed to.
Most bridge owners assume the bearing set will need attention once during the life of the structure. Bearings are commonly designed for a working life measured in decades, against a deck designed for a much longer period. A replacement at some point in the structure's life is normal planning, not a failure of the design.
A bearing is a candidate for replacement when:
Delamination has progressed to a line of separation that can be seen at the edge.
Cracking or tearing penetrates the rubber cover down to the steel plates.
Shear deformation or rotation has exceeded the allowable limit, leaving no reserve for future movement.
The bearing has lost contact with the plinth, or has debonded from it.
Sliding surfaces are scored beyond repair, or the sliding range is exhausted.
Corrosion has reduced the steel plates or the restraint hardware below acceptable section.
Replacement is planned work when it is caught in inspection and an emergency when it is not. The difference is almost always the record of what was installed, where, and when.
Replacing a bearing under a live deck is expensive. It needs jacking, temporary support, and a closure. The cost is driven by the access and the disruption, not by the price of the bearing itself. That arithmetic is why an inspection programme that costs a fraction of one replacement pays for itself many times over.
If you are comparing suppliers for a replacement order, ask for batch test data rather than a datasheet. Our guide to verifying bridge bearing quality walks through what to check.
Maintenance Planning and Lifecycle Cost
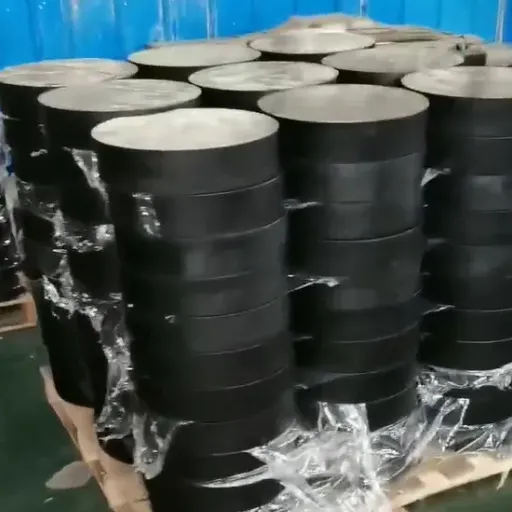
Rubber bearings for bridges are usually a small line in the construction budget and a recurring line in the maintenance budget. Planning for both is the difference between a manageable cost and an unwelcome one.
Three practices keep lifecycle cost under control:
Record what was installed. Type, batch, size, setting temperature, and position for every bearing. Without this, the next inspection team is measuring against a guess.
Inspect on a schedule. Add bearing inspection to routine principal inspections, and make sure the access details allow it to be done safely. A bearing that cannot be reached will not be inspected.
Replace as a planned campaign. When inspection shows a batch problem, plan the replacement as a scheduled closure rather than responding to a failure. Grouping replacement with other planned work on the structure spreads the cost of access.
Design choices upstream of the field also extend life. Bearings with adequate rotation and movement reserve, correctly sized for the plinth, tolerate more installation variation. Compound selection for the site temperature range protects against low-temperature stiffening and cracking. None of these are expensive at the drawing stage.
The bearing that survives longest is the one that was specified with margin, made with controlled vulcanization, set on a flat plinth at the right temperature, and inspected on a schedule. Each of those steps is documented, and documentation is what makes the next decision easy.
Documentation to Keep With Every Bearing
Records turn a rubber bearing for bridges into an asset you can manage. Keep the following with the project file for the life of the structure.
Batch test reports. Bearing capacity, shear resistance, seismic performance where applicable, and fatigue durability results for the batch the delivered bearings came from.
Raw material certificates. Rubber compound shear modulus and hardness, and steel plate specification.
Setting-out and installation record. Position, setting temperature, date, flatness check result, and photographs of each bearing as installed.
As-built deviations. Any deviation from the drawing, with the reason and the approval.
Inspection history. Each inspection finding, the action taken, and the date. Trends matter more than a single reading.
At Hengshui Ruibin New Materials LLC, we supply bearings with this documentation as standard practice, not as an extra. Rubber and steel plate raw materials are qualified before production, mixing and vulcanization are strictly regulated, and every batch is sampled and tested for bearing capacity, bearing shear resistance, seismic performance, and fatigue durability under full-process quality control.
Want the record before you commit? Request our batch test reports and compare them against any datasheet you receive. Our bearing testing programme covers compression, shear, seismic, and fatigue verification.
Conclusion: Installing and Maintaining Rubber Bearings for Bridges
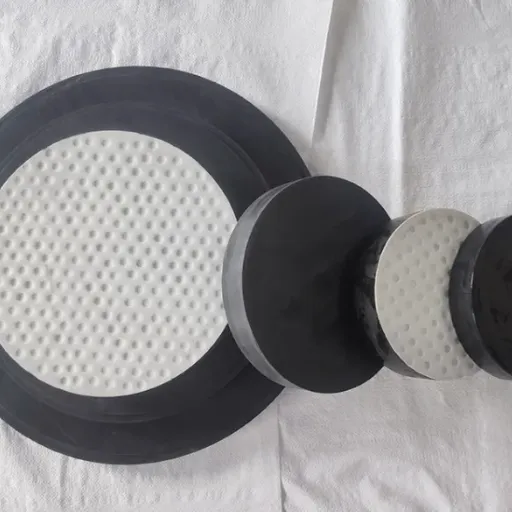
Five takeaways for the field side of the job:
Installation quality decides bearing life. A correct bearing on a bad plinth starts service already deformed.
Flatness and level are the tolerances that cause the most field problems. Grind the plinth, never shim the bearing.
Set bearings at the specified temperature and record it. Starting position is part of the design, not a detail.
Inspect on a schedule, and learn the difference between normal bulging and distress such as local bulge, cracking, or delamination.
Plan for one replacement. Records, batch testing, and scheduled inspection turn that from an emergency into maintenance.
A rubber bearing for bridges is a small part of the structure and a decisive part of its safety. Specify it with rigour, install it to tolerance, and inspect it on a programme. The bearing will do the rest for decades.
If you share your bridge's load, movement, rotation, and setting conditions, our engineers will confirm the right bearing type, support the installation sequence, and provide the batch documentation to back it up. Request a quote or talk to our engineering support team to start the review.
Recently Posted
-
FRP Cable Ladder: Types, Benefits & How to Choose
September 24, 2026In March 2023, the maintenance supervisor at a coal-fired power plant in Sumatra pulled a 12-meter galvanized steel cable ladder o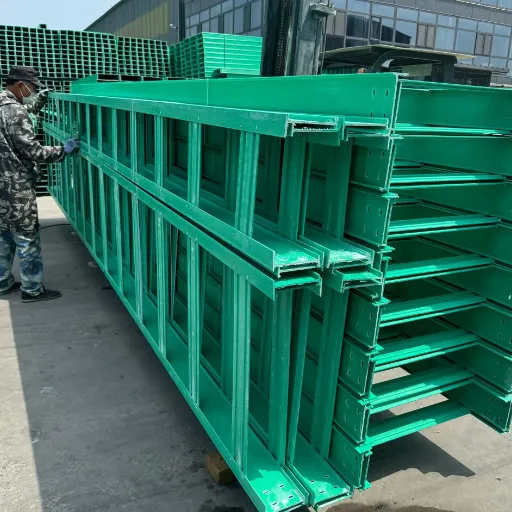 Read More
 -
FRP Cable Tray Guide: Types, Benefits & Sourcing
September 23, 2026On a humid Monday in June 2025, the maintenance crew at a coastal desalination plant in the Philippines found rust flakes scattere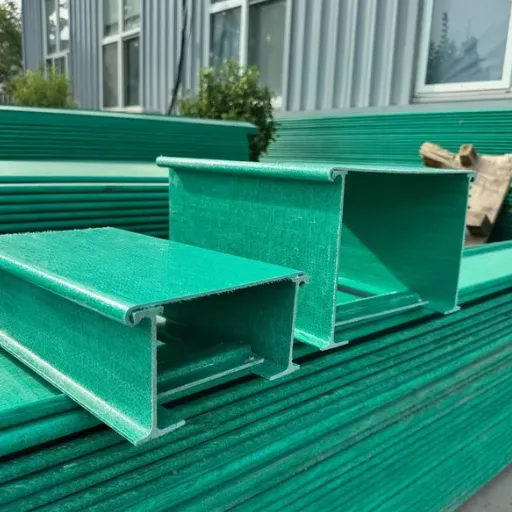 Read More
 -
Fiberglass Cable Tray Guide: Types, Benefits & Sourcing
September 22, 2026On a Thursday in September 2024, the electrical team at a chlor-alkali plant in Gujarat pulled the third galvanized steel cable tr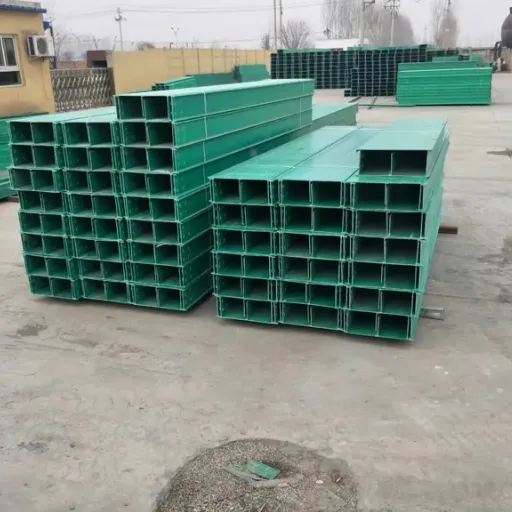 Read More
 -
FRP Grating Standards and Test Reports: A Buyer's Guide
September 21, 2026In March, Mateo Silva, a project engineer on a fertilizer terminal expansion in Chile, rejected an entire shipment of fiberglass g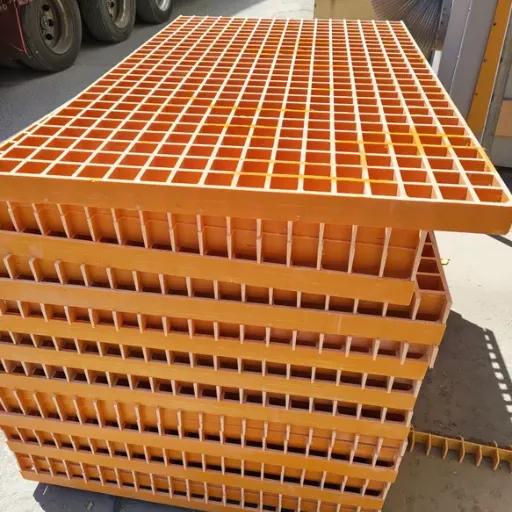 Read More

Contact Us
Recommended Products
-
 Corrosion Resistant Grating Board FRP Fiberglass Grating for Sidewalk FloorNegotiableMOQ: 100 Square Meters
 -
Outdoor Fiberglass Ladder Type FRP GRP Cable Tray for Industrial Cable SupportNegotiableMOQ: 50 Meters
-
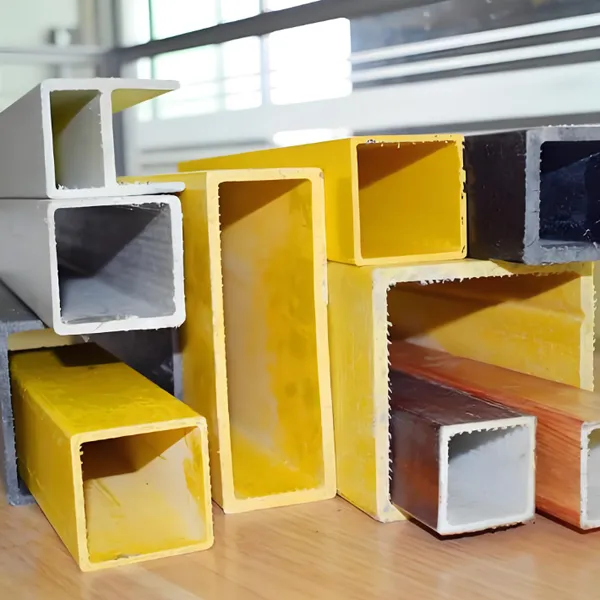
FRP Pultruded Box Section Profiles as Durable Building Material for ConstructionNegotiableMOQ: 300 Pieces
-
FRP/GRP U-Shape Trench Cover for Road Drainage ApplicationsNegotiableMOQ: 1 Set
-
Steel Grating Drainage Cover and Catwalk Walkway GratingNegotiableMOQ: 300 Square Meters
-
Sliding Neoprene Elastomeric Bridge Bearing Pad for Expansion Joints Low FrictionNegotiableMOQ: 1 Piece
-
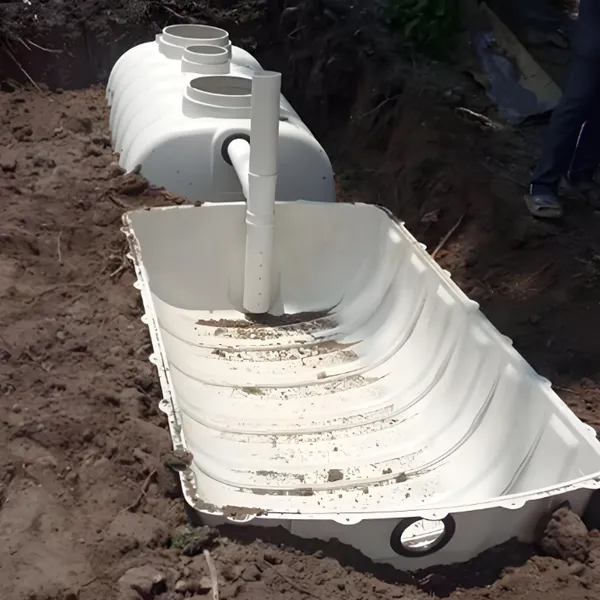
FRP Plastic Septic Tank for Chemical Plant School Hotel Hospital Sewage TreatmentNegotiableMOQ: 1 Set
-
Customized High Load Polymer Concrete Drainage Channel - OEM AvailableNegotiableMOQ: 1 Set
-
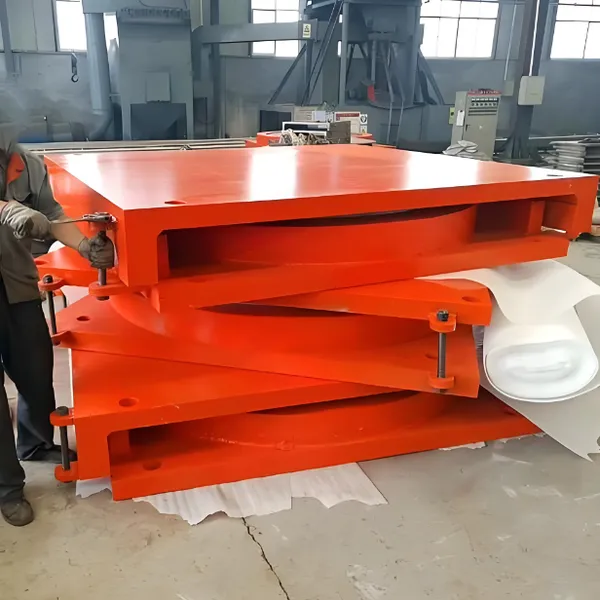
Pot Type Bridge Rubber Bearing Pad for Seismic Isolation and Shock Absorption SupportNegotiableMOQ: 50 Pieces
-
Outdoor FRP Ladder Cable Tray UV Stabilized GRP Fiberglass Ladder Tray for Solar Power StationNegotiableMOQ: 50 Meters
-
Anti-Aging FRP Fiberglass GRP Pultrusion Grating for Outdoor ApplicationsNegotiableMOQ: 100 Square Meters
-
China Manufactures High Performance Bridge Rubber Pot BearingNegotiableMOQ: 1 Piece
-
Weatherproof Structural FRP Square Rectangular Tube Pultruded Profile for Outdoor UseNegotiableMOQ: 300 Pieces
-
Isolation Spherical Bearing and Damping Pad for Bridge Seismic ProtectionNegotiableMOQ: 300 Pieces
-
Fiberglass FRP/GRP Biogas Septic Tank for Sewage Treatment and PurificationNegotiableMOQ: 1 Set
-
Fiberglass Reinforced Plastic Grating for Walkway Flooring, FRP GRPNegotiableMOQ: 100 Square Meters
-
C-Channel FRP/GRP Pultruded Profiles for Structural SupportNegotiableMOQ: 300 Pieces
-
High Durability Molded FRP Grating for Walkways, GRP FiberglassNegotiableMOQ: 100 Square Meters
-
Laminated Rubber Bearings for Bridge and Building Seismic Isolator ApplicationsNegotiableMOQ: 50 Pieces
-
FRP Fiberglass Ladder Cable Tray for Power Supply and Electrical Wiring SystemsNegotiableMOQ: 50 Meters